

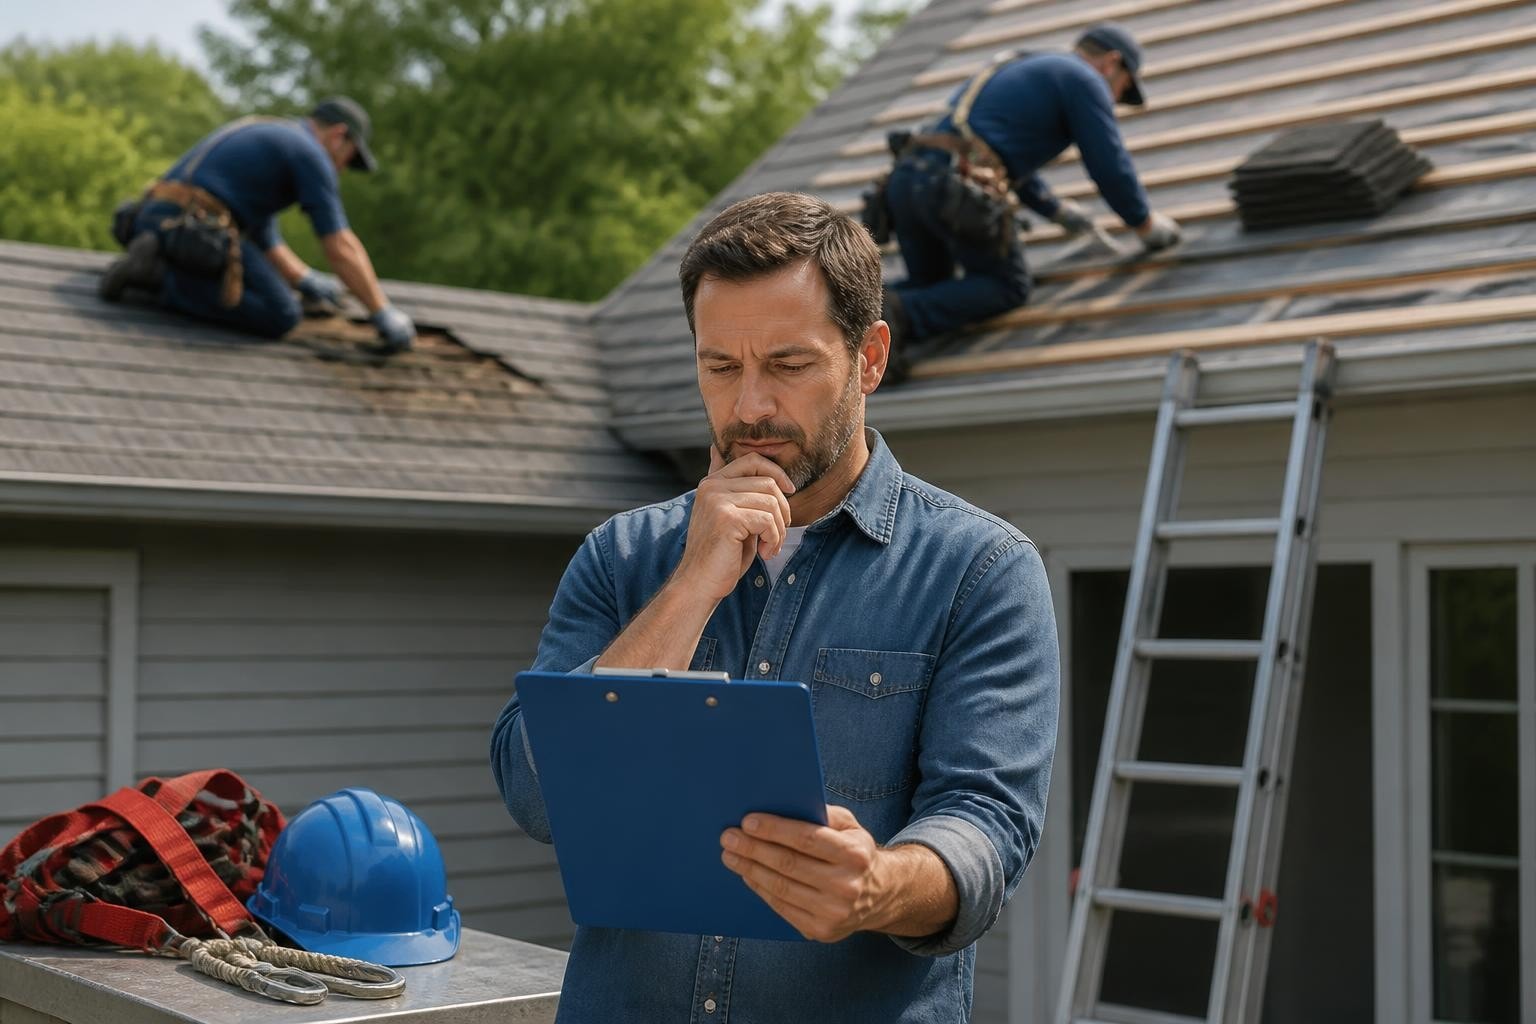
Roofing projects represent some of the most critical home maintenance tasks, and many homeowners in the Joliet area consider tackling them independently to save money. While diy roofing can be a viable option for certain repairs and minor maintenance, understanding the scope, risks, and limitations of what you can realistically accomplish is essential. This comprehensive guide will help you navigate the decision-making process, identify projects suitable for homeowner execution, and recognize when professional expertise becomes necessary for safety and long-term performance.
Understanding the Scope of DIY Roofing Projects
Not all roofing work falls into the same category of difficulty or risk. The complexity of diy roofing varies dramatically based on roof pitch, material type, height, and the extent of damage or replacement needed.
Minor Repairs Within Homeowner Capability
Several basic roofing maintenance tasks can be safely performed by homeowners with proper preparation and safety equipment:
- Replacing individual damaged shingles that have cracked, curled, or blown off during storms
- Sealing minor flashing gaps around chimneys, vents, or skylights with appropriate roofing cement
- Cleaning gutters and downspouts to prevent water backup and ice dam formation
- Applying temporary patches to small leaks until professional assessment can occur
- Inspecting roof surfaces from ground level or safely accessible areas for visible damage
These tasks typically require minimal specialized tools and can prevent minor issues from escalating into major problems. However, even seemingly simple repairs demand attention to safety protocols and proper material selection.
Projects Requiring Professional Expertise
Certain roofing projects exceed safe homeowner capability and demand licensed contractor involvement. Full roof replacement represents the most obvious example, but other complex tasks also warrant professional attention:
| Project Type | Why Professional Help Required | Typical Timeline |
|---|---|---|
| Complete tear-off and replacement | Structural assessment, code compliance, warranty protection | 2-5 days |
| Extensive storm damage repair | Insurance documentation, matching materials, comprehensive inspection | 1-3 days |
| Modified bitumen installation | Specialized equipment, torch application expertise, commercial standards | 3-7 days |
| Structural repairs | Load-bearing concerns, deck replacement, engineering requirements | Variable |
| Steep-pitch roofing (above 6/12) | Fall hazard, specialized equipment, experience requirements | Variable |
Great Roofing specializes in both residential shingle installation and commercial modified bitumen systems, bringing the expertise necessary for complex projects that exceed homeowner capabilities.
Safety Considerations for DIY Roofing Work
Safety represents the paramount concern when considering any diy roofing project. According to the National Safety Council, falls from roofs account for thousands of injuries annually, many involving homeowners attempting repairs without proper equipment or training.
Essential Safety Equipment and Precautions
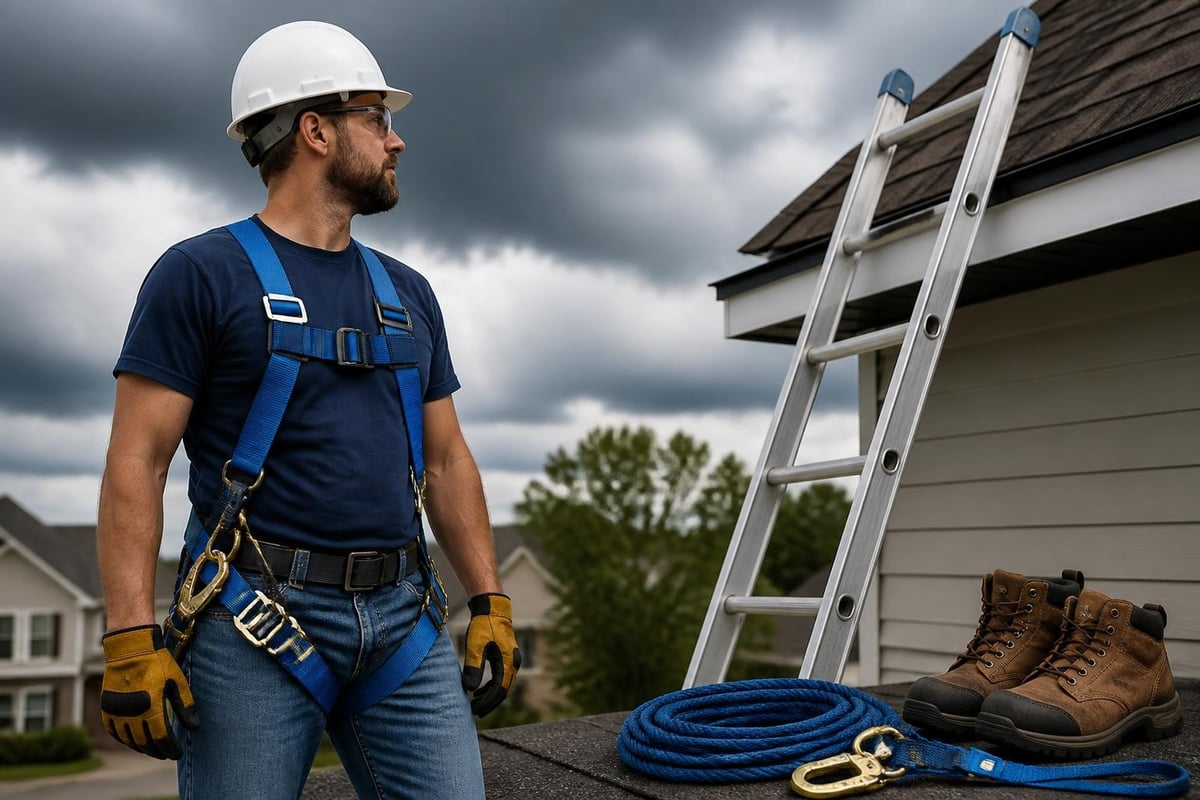
Before setting foot on any roof surface, invest in appropriate safety gear and establish clear protocols:
Personal Protection Equipment (PPE):
- OSHA-compliant fall arrest system with proper anchor points
- Non-slip, rubber-soled work boots with ankle support
- Safety glasses or goggles for eye protection from debris
- Work gloves with good grip for handling materials
- Hard hat when working near edges or overhangs
Environmental Safety Factors:
- Never work on wet, icy, or excessively hot roof surfaces
- Avoid working in winds exceeding 15-20 mph
- Schedule work during mild weather conditions (60-75°F ideal)
- Ensure proper ladder setup with 4:1 ratio and secure top attachment
- Have a second person on site for emergency assistance
The American Red Cross provides guidance on safety-first approaches to temporary roof repairs after storm events, emphasizing when to wait for professional assistance rather than risking injury.
Lead Paint and Environmental Regulations
Homes built before 1978 may contain lead-based paint, and disturbing these surfaces during roofing work triggers specific federal requirements. The EPA’s Renovation, Repair and Painting Rule establishes mandatory practices for projects that disturb lead paint, including certification requirements that apply to both contractors and certain homeowner projects.
Material Selection and Cost Considerations
One primary motivation for diy roofing involves cost savings, but accurate material selection and budgeting require careful analysis. Choosing inappropriate materials or underestimating quantities can negate savings and compromise roof performance.
Common Roofing Materials for DIY Projects
Asphalt Shingles remain the most popular choice for homeowner-installed repairs due to accessibility and straightforward installation requirements. Three-tab shingles offer the simplest installation process, while architectural shingles provide enhanced durability and aesthetic appeal at moderate additional cost.
Material Cost Comparison (per square foot, 2026):
| Material Type | DIY Material Cost | Professional Installation Cost | Lifespan |
|---|---|---|---|
| 3-tab asphalt shingles | $0.90-$1.50 | $3.50-$5.50 | 15-20 years |
| Architectural shingles | $1.25-$2.50 | $4.50-$7.00 | 25-30 years |
| Metal panels (standing seam) | $3.50-$7.00 | $8.00-$14.00 | 40-70 years |
| Modified bitumen (commercial) | $2.50-$4.00 | $6.00-$10.00 | 20-30 years |
These figures reflect material-only costs for DIY approaches versus complete installation pricing. However, homeowners must also account for tool purchases or rentals, waste disposal fees, and potential mistakes requiring material replacement.
Understanding the price variations in roofing shingles helps establish realistic budgets and determine whether DIY approaches truly deliver anticipated savings after accounting for all expenses.
Step-by-Step Considerations for Shingle Repair
For homeowners committed to diy roofing repairs on asphalt shingle systems, understanding proper technique prevents water intrusion and premature failure.
Preparing for Single Shingle Replacement
Assessment Phase:
- Document the damage with photographs from multiple angles
- Identify the shingle type, color, and manufacturer if possible
- Determine whether matching materials remain available
- Check warranty terms that might be voided by DIY repairs
- Verify weather forecast allows sufficient dry time
Material and Tool Gathering:
- Replacement shingles matching existing roof (purchase extras)
- Roofing nails (1¼ inch for standard applications)
- Flat pry bar for lifting adjacent shingles
- Roofing cement or sealant rated for your climate
- Utility knife with hook blades for cutting
- Caulking gun for precision sealant application
This Old House provides comprehensive video guidance for reshingle projects, demonstrating professional techniques adapted for homeowner execution on straightforward roof configurations.
Execution and Quality Control
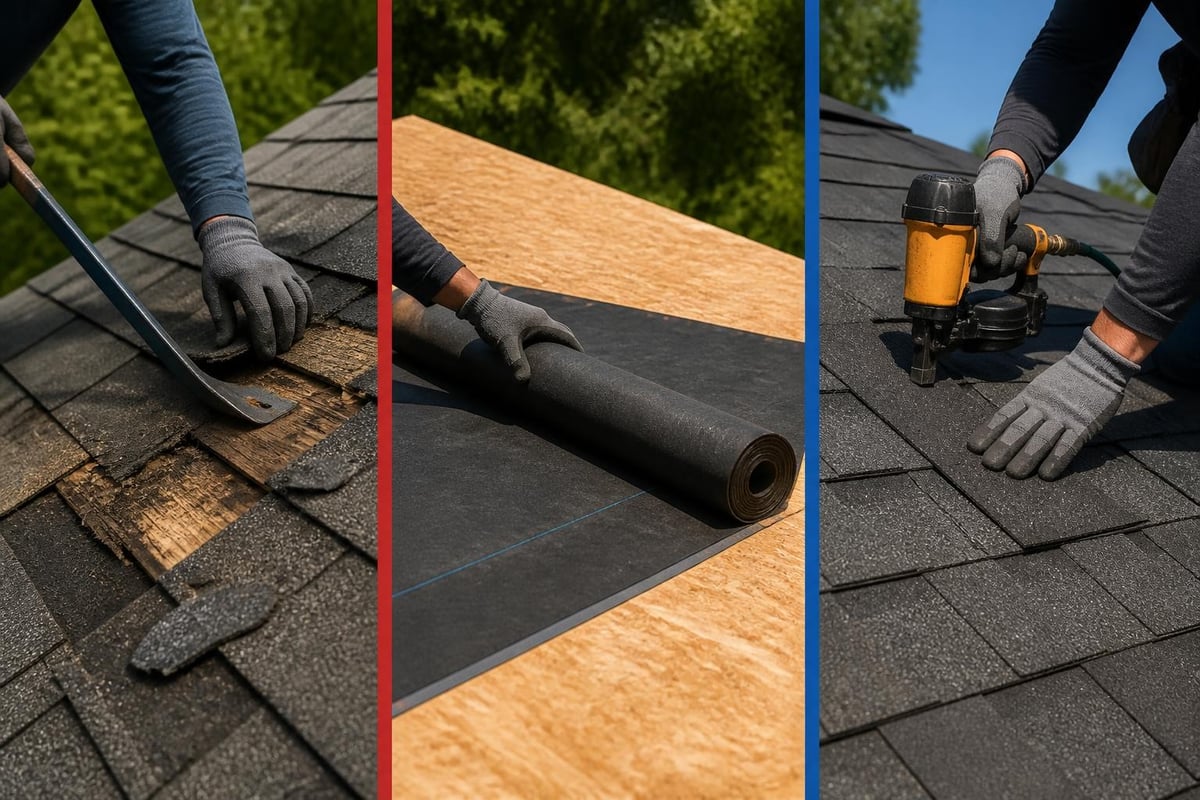
Proper installation technique distinguishes successful repairs from those that fail prematurely. When replacing individual shingles:
Critical Installation Steps:
- Carefully lift surrounding shingles without breaking seal tabs
- Remove all damaged material and inspect underlying deck
- Verify deck integrity before installing replacement shingle
- Slide new shingle into position, aligning with adjacent pieces
- Secure with four nails placed in manufacturer-specified locations
- Apply roofing cement under lifted tabs and seal edges
- Press firmly to ensure complete adhesion
Quality control extends beyond visible appearance. Professional contractors understand that proper shingle repair requires attention to underlayment condition, proper ventilation maintenance, and integration with existing roof systems that may not be immediately obvious to homeowners.
Ventilation and Insulation Considerations
One frequently overlooked aspect of diy roofing involves the critical relationship between roof covering, ventilation, and attic insulation. Making surface repairs without addressing underlying ventilation deficiencies can lead to premature material failure, ice dams, and moisture damage.
Understanding Roof Ventilation Requirements
Proper ventilation balances intake (typically soffit vents) with exhaust (ridge vents, gable vents, or powered fans) to maintain consistent airflow. The general standard requires one square foot of ventilation for every 150 square feet of attic space, with balanced intake and exhaust.
The Department of Energy provides detailed guidance on preparing attic floors and establishing proper ventilation patterns that prevent moisture accumulation and extend roof material lifespan.
Ventilation Benefits:
- Reduces heat buildup that accelerates shingle deterioration
- Prevents moisture condensation that promotes mold and rot
- Minimizes ice dam formation in cold climates
- Extends overall roof system lifespan by 20-40%
- Improves energy efficiency and reduces cooling costs
Homeowners focusing solely on visible roofing materials often miss these underlying system components that professionals routinely address during comprehensive repairs or replacements.
When DIY Becomes Dangerous or Counterproductive
Recognizing the limitations of diy roofing separates prudent homeowners from those who create larger problems through well-intentioned but misguided efforts.
Warning Signs to Stop and Call Professionals
Certain situations demand immediate professional intervention rather than continued DIY attempts:
- Extensive water damage visible in attic spaces or interior ceilings
- Sagging or springy roof deck indicating structural compromise
- Multiple leak sources that suggest widespread system failure
- Steep pitch roofs exceeding comfortable working angles
- Multi-story buildings where fall distances increase injury severity
- Complex architectural features including multiple dormers, valleys, or transitions
Storm damage assessment represents another area where professional expertise proves invaluable. After significant weather events, comprehensive storm damage evaluation identifies issues that may not be immediately visible but will cause progressive deterioration if unaddressed.
Insurance and Warranty Implications
Homeowners insurance policies often include specific provisions regarding DIY repairs versus professional contractor work. Many policies require licensed contractor involvement for:
- Claims exceeding certain dollar thresholds
- Documentation for depreciation and replacement value calculations
- Verification that repairs meet current building codes
- Protection against liability for improper repairs
Similarly, roofing material manufacturers typically void product warranties when installation doesn't follow their specifications or when uncertified installers perform the work. This warranty protection can represent thousands of dollars in value over the roof's lifespan.
Building Code Compliance and Permit Requirements
Local building departments establish minimum standards for roofing work, and many jurisdictions require permits even for repairs that homeowners might consider minor. Joliet and surrounding municipalities enforce specific requirements that protect homeowner investments and community safety standards.
Common Permit Requirements
When Permits Typically Required:
- Roof replacement or re-roofing projects
- Repairs exceeding 25% of total roof area
- Structural modifications or deck replacement
- Addition of new roof penetrations or skylights
- Changes to ventilation systems
When Permits May Not Be Required:
- Individual shingle replacement (typically fewer than 10 shingles)
- Minor flashing repairs
- Gutter cleaning and minor gutter repairs
- Temporary emergency patches
Permit processes verify that work meets current code requirements, which have evolved significantly regarding wind resistance, fire ratings, and energy efficiency. The National Roofing Contractors Association maintains comprehensive technical resources outlining industry standards that inform building code development.
Professional contractors maintain current knowledge of evolving code requirements and handle permitting processes as standard service components, eliminating homeowner burden and ensuring compliance.
Tool Investment and Equipment Needs
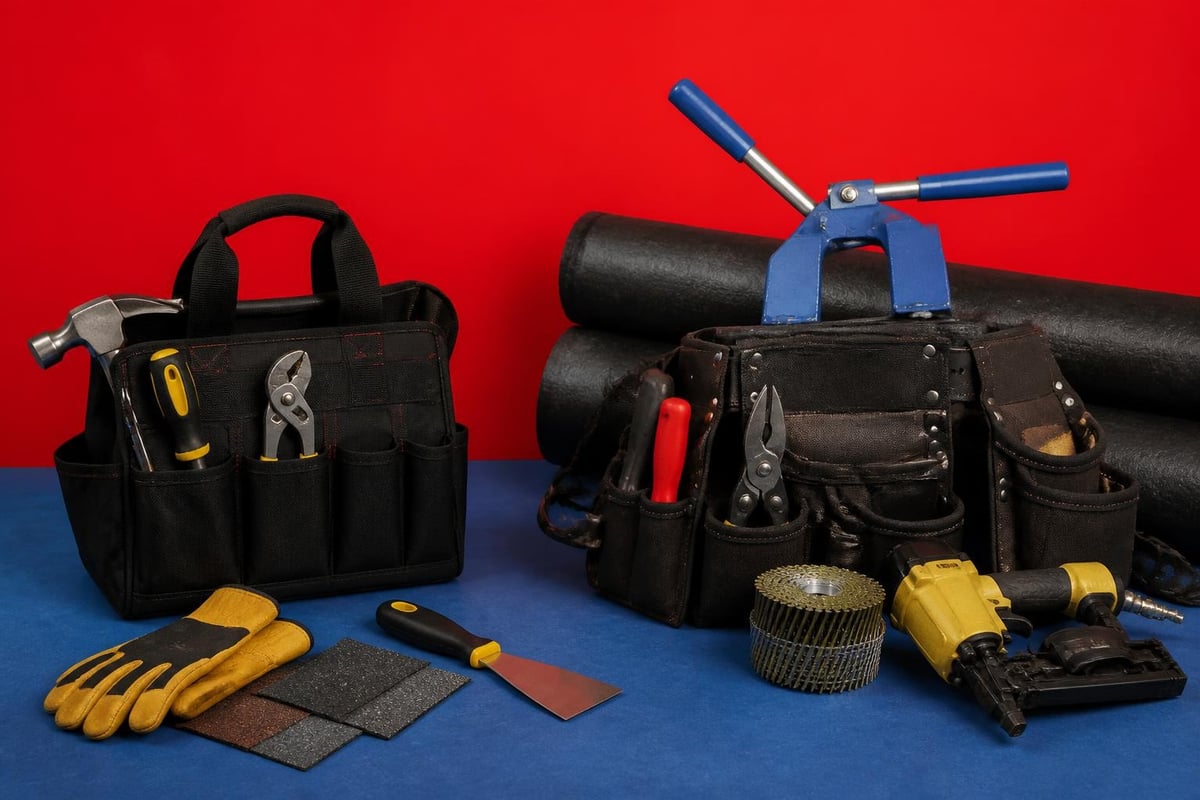
Successful diy roofing requires appropriate tools, and the investment needed often surprises homeowners accustomed to general home maintenance equipment.
Basic Tool Requirements for Minor Repairs
Minimum Tool Set (approximately $150-$300 investment):
| Tool | Purpose | Approximate Cost |
|---|---|---|
| Extension ladder (24-foot minimum) | Safe roof access | $200-$400 |
| Roofing hammer or pneumatic nailer | Fastener installation | $30-$300 |
| Flat pry bar | Shingle removal | $15-$30 |
| Utility knife with hook blades | Cutting materials | $10-$25 |
| Chalk line | Layout and alignment | $8-$15 |
| Tape measure (25-foot) | Measurement accuracy | $10-$20 |
| Caulking gun | Sealant application | $5-$15 |
Professional-Grade Equipment Advantages
Contractors utilize specialized equipment that significantly improves efficiency, accuracy, and results:
- Pneumatic nail guns with adjustable depth settings
- Roof jacks and staging for secure material positioning
- Magnetic sweepers for fastener cleanup
- Shingle cutters for precise material preparation
- Power ventilation tools for proper airflow installation
These tools represent substantial investments justified only by regular professional use. Homeowners attempting comprehensive projects often discover that tool rental costs alone approach professional labor expenses.
Long-Term Cost Analysis: DIY Versus Professional Installation
While immediate material savings attract homeowners to diy roofing, comprehensive cost analysis reveals a more complex financial picture.
Hidden Costs in DIY Approaches
Expense Categories Often Overlooked:
- Tool purchases or long-term rental fees
- Waste disposal and dumpster rental charges
- Multiple material trips due to quantity miscalculations
- Time value of labor (opportunity cost)
- Potential mistake correction requiring duplicate materials
- Lack of workmanship warranty requiring future out-of-pocket repairs
- Possible insurance premium impacts if undocumented work causes future claims
Professional Installation Value Propositions:
- Comprehensive warranties covering materials and labor
- Efficient project completion minimizing weather exposure
- Proper code compliance and permit handling
- Manufacturer certification protecting product warranties
- Liability insurance protecting homeowner assets
- Experienced crew productivity (days versus weeks)
When homeowners factor these considerations into total project costs, professional installation often provides superior value, particularly for projects exceeding basic repairs. Obtaining estimates from reputable contractors like Great Roofing establishes accurate comparison baselines against DIY approaches.
Making the Right Decision for Your Situation
The decision to pursue diy roofing ultimately depends on multiple personal factors beyond simple cost calculations. Honest self-assessment determines whether homeowner execution makes sense for your specific circumstances.
Key Decision Factors
Favorable Conditions for DIY Approach:
- Single-story structure with easy roof access
- Low-pitch roof (4/12 or less)
- Limited scope repair (fewer than 15 shingles)
- Personal construction experience and tool familiarity
- Flexible schedule accommodating weather delays
- Physical capability for demanding work
- Comfortable working at heights
Situations Favoring Professional Contractors:
- Two or more story buildings
- Steep pitch or complex architecture
- Extensive damage requiring comprehensive assessment
- Time constraints or inflexible schedules
- Limited physical capability or height discomfort
- Lack of appropriate safety equipment
- Desire for warranty protection and guaranteed results
For homeowners in the Joliet area, consulting with experienced professionals about project scope helps clarify realistic expectations. Companies specializing in roofing repair expertise can assess damage, provide accurate estimates, and help homeowners understand whether DIY approaches offer genuine advantages for their specific situations.
Maintaining Your Roof After Repairs
Whether you complete diy roofing repairs or hire professionals, ongoing maintenance extends roof lifespan and prevents minor issues from escalating into expensive replacements.
Annual Maintenance Checklist
Implement these routine inspections and maintenance tasks:
- Biannual visual inspections (spring and fall) from ground level
- Immediate post-storm assessments after high winds, hail, or heavy snow
- Gutter cleaning at least twice annually, more frequently with nearby trees
- Trim overhanging branches maintaining 6-foot clearance from roof surface
- Monitor attic spaces for moisture, staining, or ventilation issues
- Document conditions with photographs creating maintenance history
- Address minor issues immediately before progressive deterioration occurs
Professional inspections every 3-5 years provide comprehensive assessments identifying issues not visible to untrained eyes. These preventive investments typically cost $200-$400 but can identify problems saving thousands in avoided major repairs.
Understanding the realistic scope and limitations of diy roofing helps homeowners make informed decisions that protect their investments and safety. While minor repairs and maintenance tasks fall within capable homeowner execution, complex projects demand professional expertise, specialized equipment, and comprehensive system knowledge. When you're ready for professional assessment or complete roofing services in the Joliet area, Great Roofing brings three generations of family-owned expertise to both residential and commercial projects, ensuring quality workmanship backed by comprehensive warranties and professional installation standards.