

Wind storms present one of the most common and destructive threats to residential and commercial roofing systems. From severe thunderstorms to tornadic activity, high winds can compromise even the most durable roofing materials, creating vulnerabilities that lead to water infiltration, structural damage, and costly repairs. Understanding how to identify wind damage early, assess its severity, and execute proper repairs protects your property investment and prevents minor damage from escalating into major failures. This comprehensive guide examines the mechanics of wind damage, detection methods, repair strategies, and best practices for maintaining roof integrity after severe weather events.
Understanding How Wind Damages Roofs
Wind affects roofs through multiple mechanisms that vary based on intensity, duration, and building characteristics. The most significant damage occurs at vulnerable points where roofing materials meet structures or where attachments are weakest.
Primary Wind Damage Mechanisms
Uplift forces create the majority of roof damage during wind events. As wind flows over a building, it accelerates and creates negative pressure zones on the roof surface. This suction effect is strongest at roof edges, corners, and ridges, where materials experience forces attempting to pull them away from the deck. The IBHS research on wind dynamics demonstrates that corner and edge zones can experience pressures three times higher than central roof areas.
Wind-driven debris constitutes the second major threat, particularly during severe storms. Tree branches, loose siding, patio furniture, and other projectiles become missiles that puncture, crack, or dislodge roofing materials. Even small impacts can create entry points for water or weaken adhesive bonds.
- Direct impact damage creates immediate holes or cracks
- Indirect impact loosens fasteners and breaks seals
- Accumulated debris traps moisture and accelerates deterioration
- Heavy debris can compromise structural decking beneath shingles
Differential pressure occurs when wind enters a building through broken windows or open doors, creating internal pressure that combines with external suction to lift roofs from the inside out. This mechanism explains why roofs sometimes fail catastrophically during hurricanes or tornadoes.
Material-Specific Vulnerabilities
Different roofing systems respond distinctly to wind stress. Asphalt shingles, the most common residential material, rely on adhesive strips and mechanical fasteners. Wind can break these bonds, causing lifting, creasing, or complete loss of individual shingles. Tab edges curl first, creating entry points that accelerate damage.
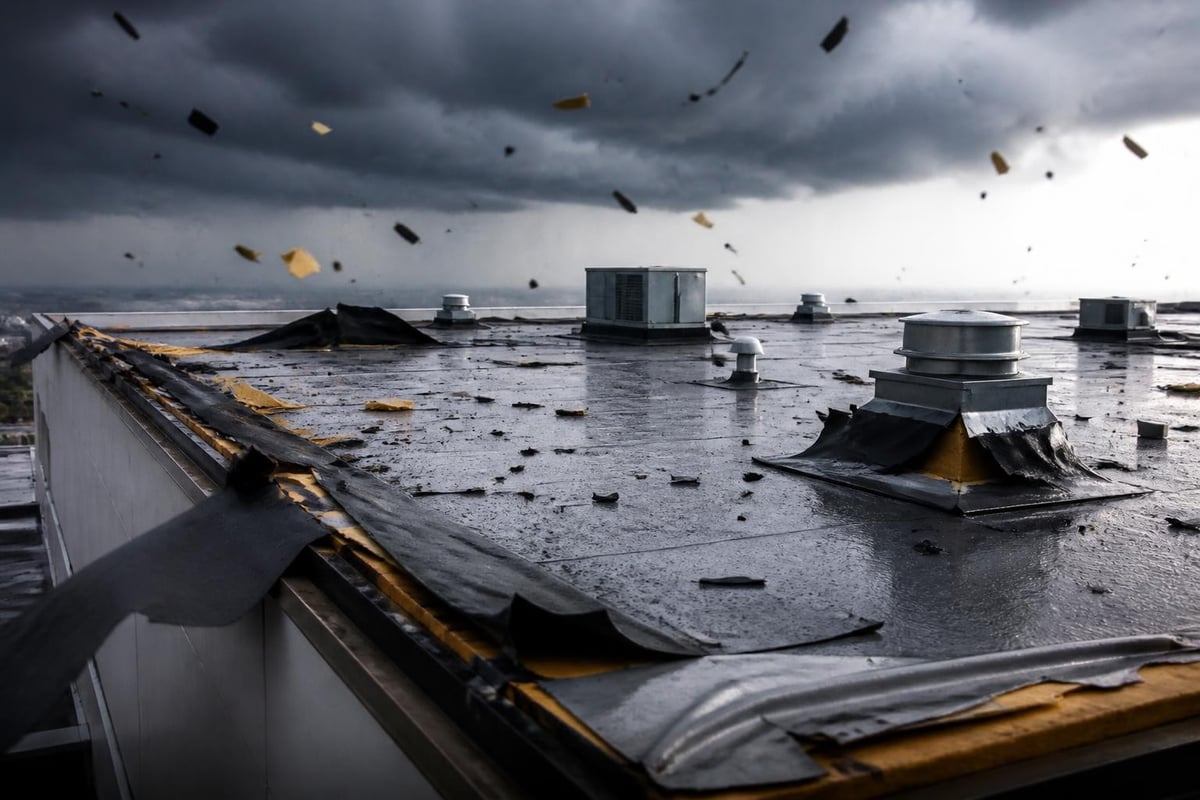
Modified bitumen systems on commercial buildings face edge flashing failures and membrane billowing when perimeter attachments loosen. The commercial roofing best practices guide emphasizes that proper edge detail installation proves critical for wind resistance in these systems.
Metal roofing panels typically perform well in wind but can suffer fastener pull-through, panel separation at seams, or complete detachment if improperly installed. Standing seam systems generally outperform exposed-fastener designs during severe wind events.
| Roofing Type | Primary Wind Vulnerability | Typical Failure Point | Wind Rating Range |
|---|---|---|---|
| Asphalt Shingle | Adhesive bond failure | Tab edges, ridge caps | 60-130 mph |
| Modified Bitumen | Membrane separation | Perimeter flashing | 90-120 mph |
| Metal Panel | Fastener failure | Seams, eaves | 110-180 mph |
| EPDM Rubber | Puncture, billowing | Seams, penetrations | 75-110 mph |
Identifying Wind Damage After Storms
Prompt identification of roof repair wind damage prevents secondary damage and strengthens insurance claims. Many homeowners and property managers miss subtle indicators that signal compromised roof integrity.
Exterior Inspection Points
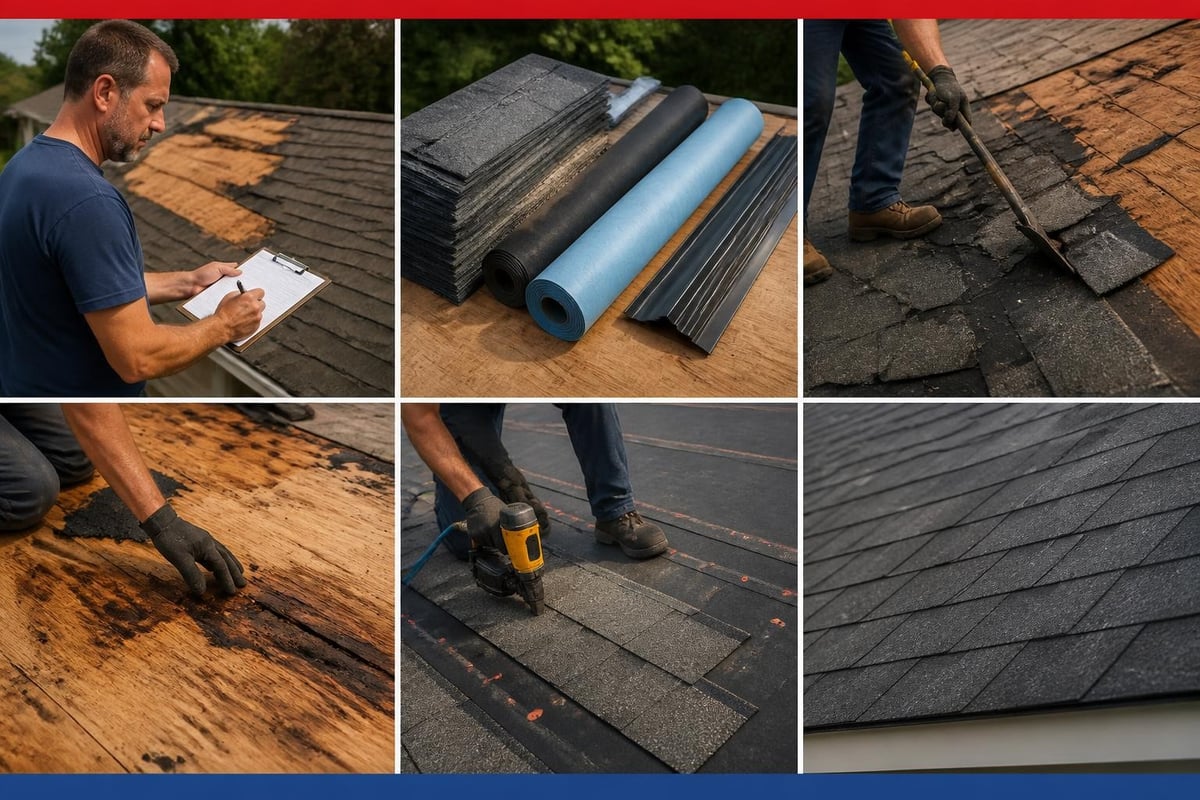
Begin ground-level assessment with binoculars before climbing. Look for obvious signs including missing shingles, exposed underlayment, or visible deck. Granule loss appears as dark patches on asphalt shingles where the protective coating has abraded away, often accumulating in gutters and downspouts.
Check these critical areas systematically:
- Roof edges and eaves: Examine for lifted, creased, or missing starter strips
- Ridge caps: Look for displacement, cracking, or separation along the peak
- Valleys: Inspect for debris accumulation, metal flashing damage, or material bunching
- Penetrations: Assess boots, vents, and chimney flashing for breaks or separation
- Transition points: Verify intact seals where different planes or materials meet
Flashing damage often goes unnoticed but creates significant leak pathways. Wind can bend, crack, or completely remove step flashing, valley metal, or drip edge. Even small gaps compromise weatherproofing.
Interior Warning Signs
Interior evidence often reveals damage missed from outside. Water stains on ceilings or walls indicate active leaks requiring immediate attention. Check attic spaces for daylight visible through the deck, wet insulation, or water trails along rafters.
Increased energy costs or temperature fluctuations can signal ventilation damage or compromised insulation from wind-driven rain entry. Musty odors suggest prolonged moisture presence from undetected leaks.
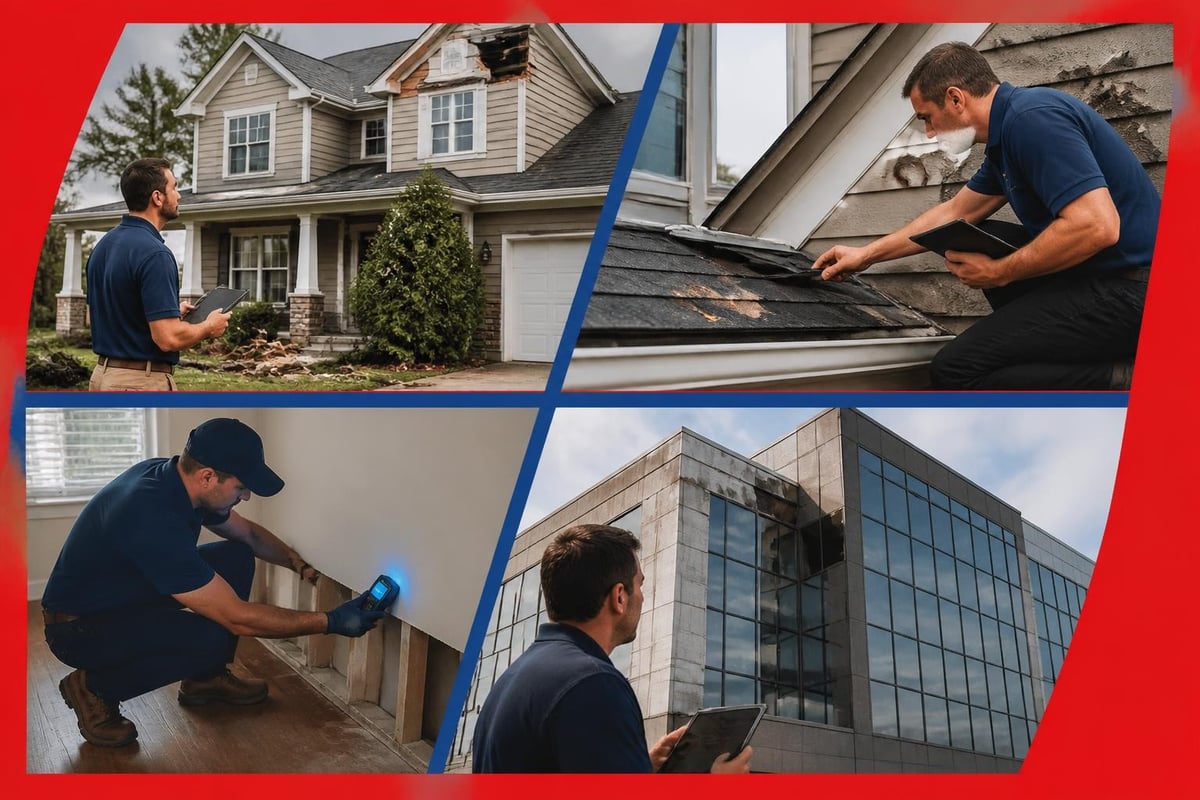
Professional inspectors use moisture meters, infrared cameras, and core samples to identify hidden damage. The NRCA storm repair guidance recommends documented professional assessment within 48 hours of significant wind events.
Emergency Measures and Temporary Repairs
Immediate action after discovering roof repair wind damage prevents water intrusion and limits secondary damage. Temporary measures buy time for permanent repairs while protecting your property.
Safe Tarp Installation
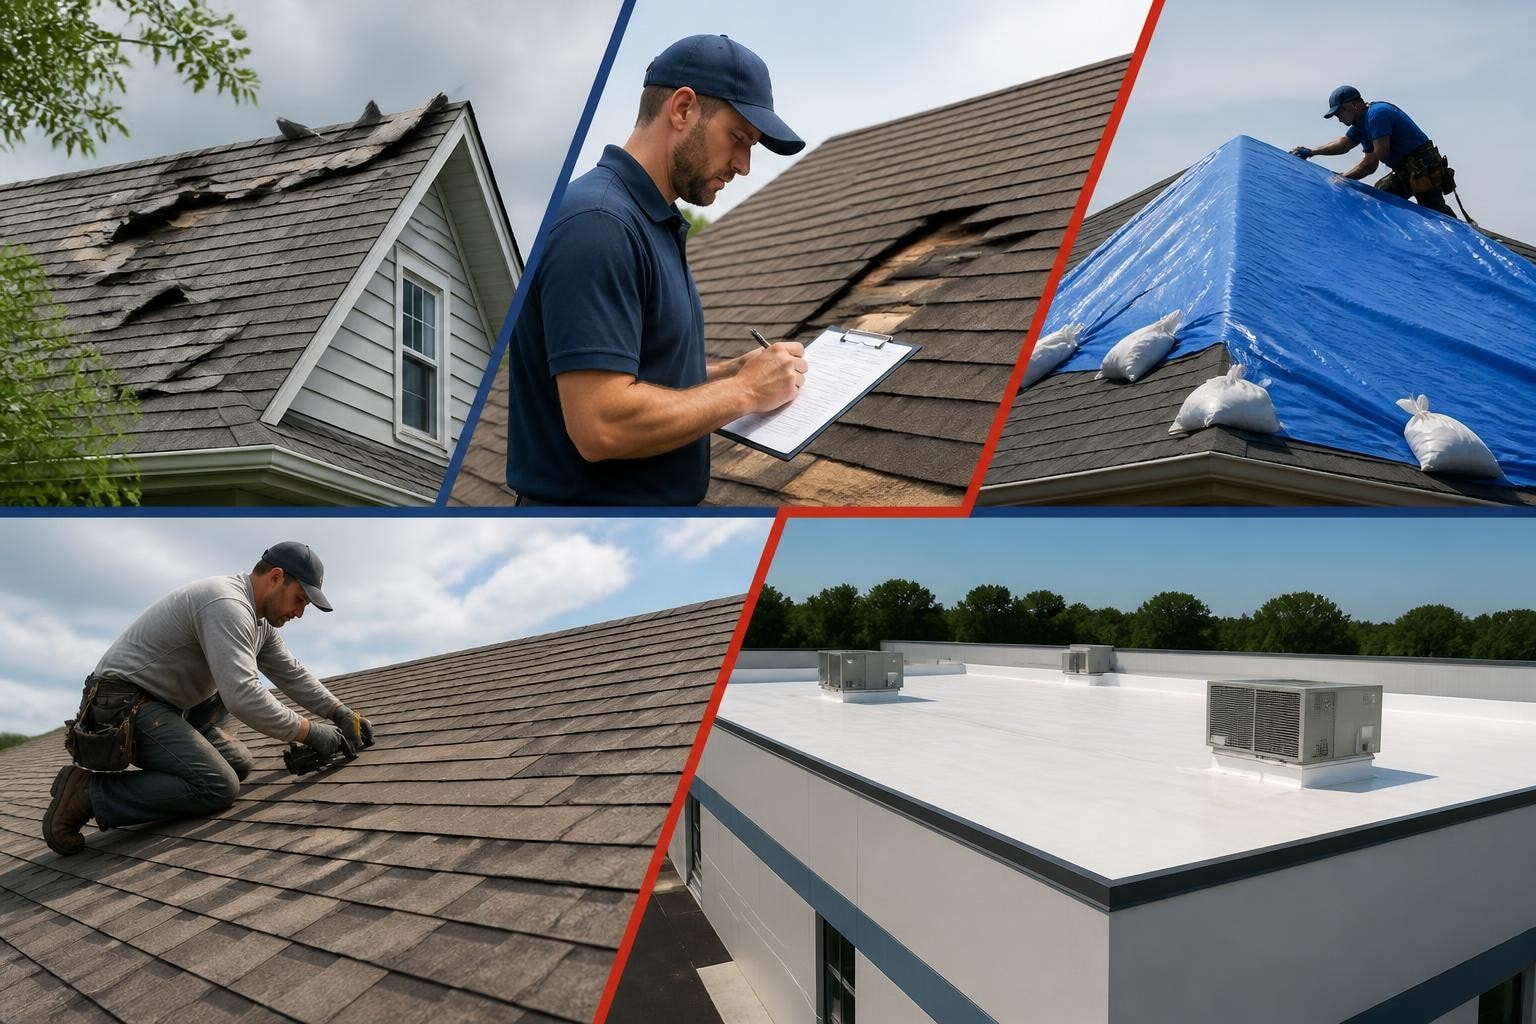
Quality tarping requires proper technique and materials. Use heavy-duty polyethylene tarps (minimum 6-mil thickness) sized to extend at least four feet beyond damaged areas in all directions. Secure tarps over the ridge when possible, allowing water to shed naturally.
Proper anchoring prevents tarp failure during subsequent weather:
- Use 2×4 boards as battens along edges and seams
- Secure boards with deck screws driven into rafters, not just sheathing
- Avoid penetrating undamaged roofing when possible
- Weight tarps with sandbags rather than loose objects
- Check and adjust tension after initial installation
Tarps provide only temporary protection. Plan permanent repairs promptly, as tarps deteriorate rapidly under UV exposure and weather stress. Extended tarp coverage can void certain warranty provisions.
Emergency Leak Mitigation
When active leaks occur before tarping is possible, interior containment limits damage. Place buckets under active drips, move valuables and electronics away from affected areas, and document all visible damage with photographs. Puncture ceiling bulges with a small hole to drain trapped water rather than allowing weight to collapse larger sections.
Permanent Roof Repair Wind Damage Solutions
Proper roof repair wind damage correction requires matching repair methods to damage extent, material type, and underlying causes. Inadequate repairs often fail during the next wind event.
Shingle Replacement Techniques
Isolated shingle damage typically allows spot repair, but technique matters. Remove damaged shingles by lifting surrounding tabs and extracting nails with a flat bar. Slide new shingles into position, securing with roofing nails placed just below the adhesive strip. Apply roofing cement under lifted tabs and press firmly to seal.
Pattern matching ensures repairs blend visually and perform correctly:
- Use shingles from the original lot when available
- Match three-tab alignment or architectural shingle patterns
- Maintain proper exposure (typically 5-5.5 inches for standard shingles)
- Overlap courses correctly to maintain water-shedding design
Consider full-slope replacement when damage exceeds 30% of any roof plane. Partial repairs on heavily damaged sections often fail at old-new transition points.
Flashing and Trim Repairs
Wind-damaged flashing requires complete replacement rather than attempted straightening. Bent or creased metal never regains full water-shedding capability. Remove damaged sections completely, install new flashing using proper overlap sequences, and seal with polyurethane or butyl-based sealants rather than asphalt cement.
Step flashing along walls must interweave with shingle courses. Each piece laps the one below and tucks under the one above, creating a shingled metal pathway for water. Counter-flashing over step flashing provides dual protection at wall intersections.
| Repair Type | DIY Feasibility | Average Cost Range | Duration | Warranty Impact |
|---|---|---|---|---|
| Single shingle | Moderate | $150-$400 | 2-4 hours | Usually maintains |
| Section (10'x10') | Low | $800-$2,500 | 1-2 days | May void |
| Full slope | Not recommended | $3,500-$8,000 | 2-5 days | Requires professional |
| Flashing system | Low | $500-$1,800 | 4-8 hours | Critical for coverage |
Commercial Roof Systems
Modified bitumen and single-ply membrane repairs demand specialized knowledge and equipment. Heat-welding seams on thermoplastic membranes requires proper temperature control and overlap dimensions. Cold-applied adhesives serve for EPDM repairs but must match substrate preparation and cure time specifications.
Edge metal replacement on commercial roofs follows strict sequencing to maintain continuous perimeter attachment. The wind-load provisions in ASCE 7 establish minimum fastener spacing and edge-zone requirements that professional contractors must follow.
Working with Insurance for Wind Damage Claims
Most homeowners' and commercial property policies cover roof repair wind damage, but successful claims require proper documentation and understanding of coverage limitations.
Documentation Best Practices
Photograph damage immediately from multiple angles and distances. Capture wide shots showing overall roof condition and close-ups of specific damage. Include reference objects (measuring tape, coins) to establish scale. Time-stamped photos strengthen claims by proving damage timing.
Inventory everything damaged or requiring repair:
- Count missing or damaged shingles by roof section
- Measure affected areas in square feet
- Document all flashing, trim, or accessory damage
- Note interior damage from leaks
- Collect samples of debris that caused impact damage
Review your policy before filing. Understand your deductible, coverage limits, and exclusions. Some policies differentiate between wind and hail damage or exclude cosmetic damage not affecting function. The claim guidance resources from United Policyholders help homeowners navigate complex claim processes.
Adjuster Interactions and Estimates
Insurance adjusters assess damage to determine claim values, but their initial estimates sometimes miss hidden damage. Accompany adjusters during inspections when safe to do so, pointing out all damage you've identified. Request written explanations for any damage they decline to include.
Obtain independent estimates from licensed contractors before accepting settlement offers. Reputable contractors like Great Roofing provide detailed assessments that identify all necessary repairs, often revealing damage adjusters overlooked. Multiple opinions strengthen negotiations for fair settlements.
Avoid contractors demanding assignment of insurance proceeds or offering to waive deductibles. These practices violate regulations in most states and signal potential quality or ethical issues.
Preventive Measures and Wind-Resistant Upgrades
Beyond reactive roof repair wind damage responses, proactive improvements reduce future vulnerability. Strategic upgrades during repair cycles enhance long-term performance without requiring complete replacement.
Material Selection for Wind Resistance
When replacing damaged sections, specify wind-rated materials. Asphalt shingles carry UL 2390 wind ratings indicating tested performance levels. Class H (150 mph), Class G (120 mph), and Class D (90 mph) ratings guide appropriate selection for regional wind exposure. The Consumer Reports roofing guide provides independent testing data on wind resistance across brands.
Enhanced fastening improves performance regardless of material. Use six nails per shingle instead of the minimum four in high-wind zones. Ring-shank or barbed nails provide superior withdrawal resistance compared to smooth-shank fasteners. Pneumatic nailers require proper pressure calibration to avoid over-driving or under-driving.
Sealed shingles resist lifting better than unsealed alternatives. Look for products with factory-applied adhesive strips that activate with solar heat. Some manufacturers offer high-wind products with additional adhesive or mechanical locking features.
System Improvements
Roof-to-wall connections determine whether roofs stay attached during extreme winds. Hurricane clips, straps, or ties create continuous load paths from roof deck through walls to foundations. The FORTIFIED Home program provides detailed specifications for strengthening these critical connections during re-roofing or repair.
Enhanced edge details provide disproportionate protection:
- Install drip edge over underlayment at eaves, under at rakes
- Extend starter courses fully to roof edges
- Use wider metal flashing (minimum 6 inches) at perimeters
- Mechanically fasten edge shingles with additional nails
- Consider peel-and-stick underlayment in edge zones
Impact-resistant shingles (Class 4 UL 2218) resist hail and debris damage that often accompanies wind events. Many insurers offer premium discounts for Class 4 installation, improving long-term cost-effectiveness.
Professional vs. DIY Roof Repair Decisions
Determining when to hire professionals versus attempting repairs yourself depends on damage severity, safety considerations, and technical complexity.
When Professional Help is Essential
Safety considerations outweigh cost savings in many scenarios. Steep roofs (above 6/12 pitch), heights exceeding one story, wet or damaged surfaces, and proximity to power lines all create hazards requiring professional equipment and expertise. Falls from roofs cause thousands of serious injuries annually, even among experienced contractors.
Structural damage always demands professional assessment. If wind has compromised decking, trusses, or rafters, engineers may need to evaluate and design repairs. Amateur structural work risks catastrophic failure and injury.
Warranty preservation often requires professional installation. Most manufacturer warranties specify licensed contractor installation. DIY repairs can void coverage on undamaged portions of the roof, creating expensive liability.
Complex repairs-multi-layer tear-offs, flashing system replacement, or work involving multiple roof planes-exceed typical homeowner capabilities. Professional contractors complete these jobs faster, safer, and with superior results that prevent callbacks.
Suitable DIY Repairs
Straightforward single-shingle replacement on accessible, low-slope roofs suits confident DIYers with proper safety equipment. Temporary tarping, minor sealant application, or gutter cleaning represent manageable tasks for most property owners.
However, recognize limitations. If you're uncomfortable working at heights, lack proper equipment (stable ladders, fall protection, ventilated roof shoes), or doubt your ability to match existing installation, professional help provides better value despite higher initial cost.
Regional Considerations for Wind Damage
Geographic location significantly influences wind risk profiles and appropriate roof repair wind damage strategies. Coastal properties face hurricane threats, while inland areas contend with severe thunderstorms and tornadoes.
High-Wind Zone Requirements
Building codes divide the United States into wind zones based on historical data and exposure categories. Joliet and surrounding Illinois communities typically fall in 90-115 mph design wind speed zones, though local exposure factors (open terrain, hilltops) can increase requirements. Tornado-prone regions demand additional considerations beyond standard wind ratings.
Code compliance during repairs ensures legal protection and proper performance. Municipalities require permits for roof work exceeding certain square footage thresholds. Permitted work receives inspections verifying proper installation techniques and materials. While permits add time and cost, they protect property owners from substandard work.
International Building Code and International Residential Code provisions, informed by ASCE 7 wind-load standards, establish minimum requirements that professional contractors must meet. These standards evolve as research improves understanding of wind effects and material performance.
Storm Preparedness
Proactive measures reduce wind damage frequency and severity. Annual professional inspections identify developing problems before storms expose them. Replace worn or lifting shingles, re-secure loose flashing, trim overhanging branches, and clear debris from roofs and gutters.
Create documentation of pre-storm roof condition with photographs and records of maintenance. This evidence helps insurance claims by establishing that damage resulted from specific events rather than gradual deterioration.
Monitor National Weather Service forecasts during severe weather season. Advance notice allows securing loose objects, closing windows and doors, and arranging temporary relocation if necessary. Post-storm safety includes avoiding damaged roofs until professionals assess stability.
Selecting Qualified Repair Contractors
Contractor selection profoundly affects repair quality, project cost, and long-term satisfaction. The post-storm environment often brings both excellent professionals and opportunistic "storm chasers" to affected areas.
Verification and Credentials
Licensing requirements vary by state and municipality. Illinois requires contractors performing work valued above $1,000 to hold state licenses. Verify current licensure through state databases and confirm coverage includes roofing specifically. Local business licenses demonstrate established presence rather than transient operations.
Insurance protection proves non-negotiable. Contractors must carry general liability coverage (minimum $1 million recommended) and workers' compensation insurance. Request certificates of insurance and verify coverage directly with insurers. Homeowners bear liability for injuries to uninsured workers on their property.
Manufacturer certifications indicate training and compliance with installation standards. GAF Master Elite, CertainTeed Select ShingleMaster, and Owens Corning Platinum Preferred contractors meet heightened requirements and can offer enhanced warranties.
Request and check references from recent projects involving similar scope and materials. Drive by completed jobs when possible. Legitimate contractors welcome scrutiny; evasive responses signal concerns.
Contract and Estimate Evaluation
Detailed written estimates should itemize materials (with specifications including brand, model, and ratings), labor, disposal costs, and timeline. Vague "per square" pricing without material details allows substitution of inferior products.
Contracts must specify:
- Complete scope of work with materials by name and grade
- Start and completion dates with weather contingencies
- Payment schedule tied to milestones (avoid large upfront payments)
- Warranty terms for materials and workmanship
- Cleanup and disposal procedures
- Permit acquisition responsibility
Red flags include demands for full payment upfront, lack of written contracts, pressure to sign immediately, offers to pay insurance deductibles, or reluctance to provide references. Reputable contractors provide transparency and time for decision-making.
Compare at least three estimates, but recognize that lowest price rarely delivers best value. Material quality, installation technique, and warranty support justify reasonable price premiums over budget options.
Maximizing Repair Longevity
Proper roof repair wind damage correction should last decades when executed correctly and maintained appropriately. Shortcut repairs fail prematurely, requiring repeated investment.
Quality Material Investment
Premium underlayment provides secondary protection if shingles fail. Synthetic underlayment outperforms traditional felt paper in strength, tear resistance, and UV stability. Peel-and-stick rubberized underlayment in vulnerable areas (valleys, eaves, penetrations) creates waterproof barriers independent of shingle performance.
Specify proper fasteners for conditions. Stainless steel or heavily galvanized nails resist corrosion in coastal or high-humidity environments. Plastic cap nails for underlayment prevent tear-through while maintaining seal integrity.
Sealants and adhesives degrade over time. Use polyurethane or specialized roofing sealants rather than basic asphalt cement. These products maintain flexibility and adhesion through temperature cycling and UV exposure.
Maintenance Programs
Scheduled maintenance extends repair lifespan significantly. Annual professional inspections cost $200-500 but identify minor issues before they escalate. Spring inspections address winter damage; fall inspections prepare roofs for severe weather season.
Routine maintenance should include:
- Debris removal from valleys and behind chimneys
- Gutter cleaning to prevent ice damming and overflow
- Inspection and re-sealing of penetration boots and flashings
- Trimming branches within six feet of roof surfaces
- Checking and securing loose or lifted shingles
- Verifying proper attic ventilation and insulation
Document all maintenance with dated photographs and service records. This history supports warranty claims and provides valuable information for future contractors.
Protecting your property from roof repair wind damage requires vigilance, prompt action, and professional expertise. Understanding damage mechanisms, identifying problems early, and investing in quality repairs safeguards your building and its occupants through severe weather events. Whether you need emergency tarping, comprehensive wind damage assessment, or complete roof restoration, Great Roofing brings family-owned dedication and technical expertise to every project across Joliet and surrounding communities. Contact our team today for a detailed inspection and honest evaluation of your roof's condition and repair needs.